1.
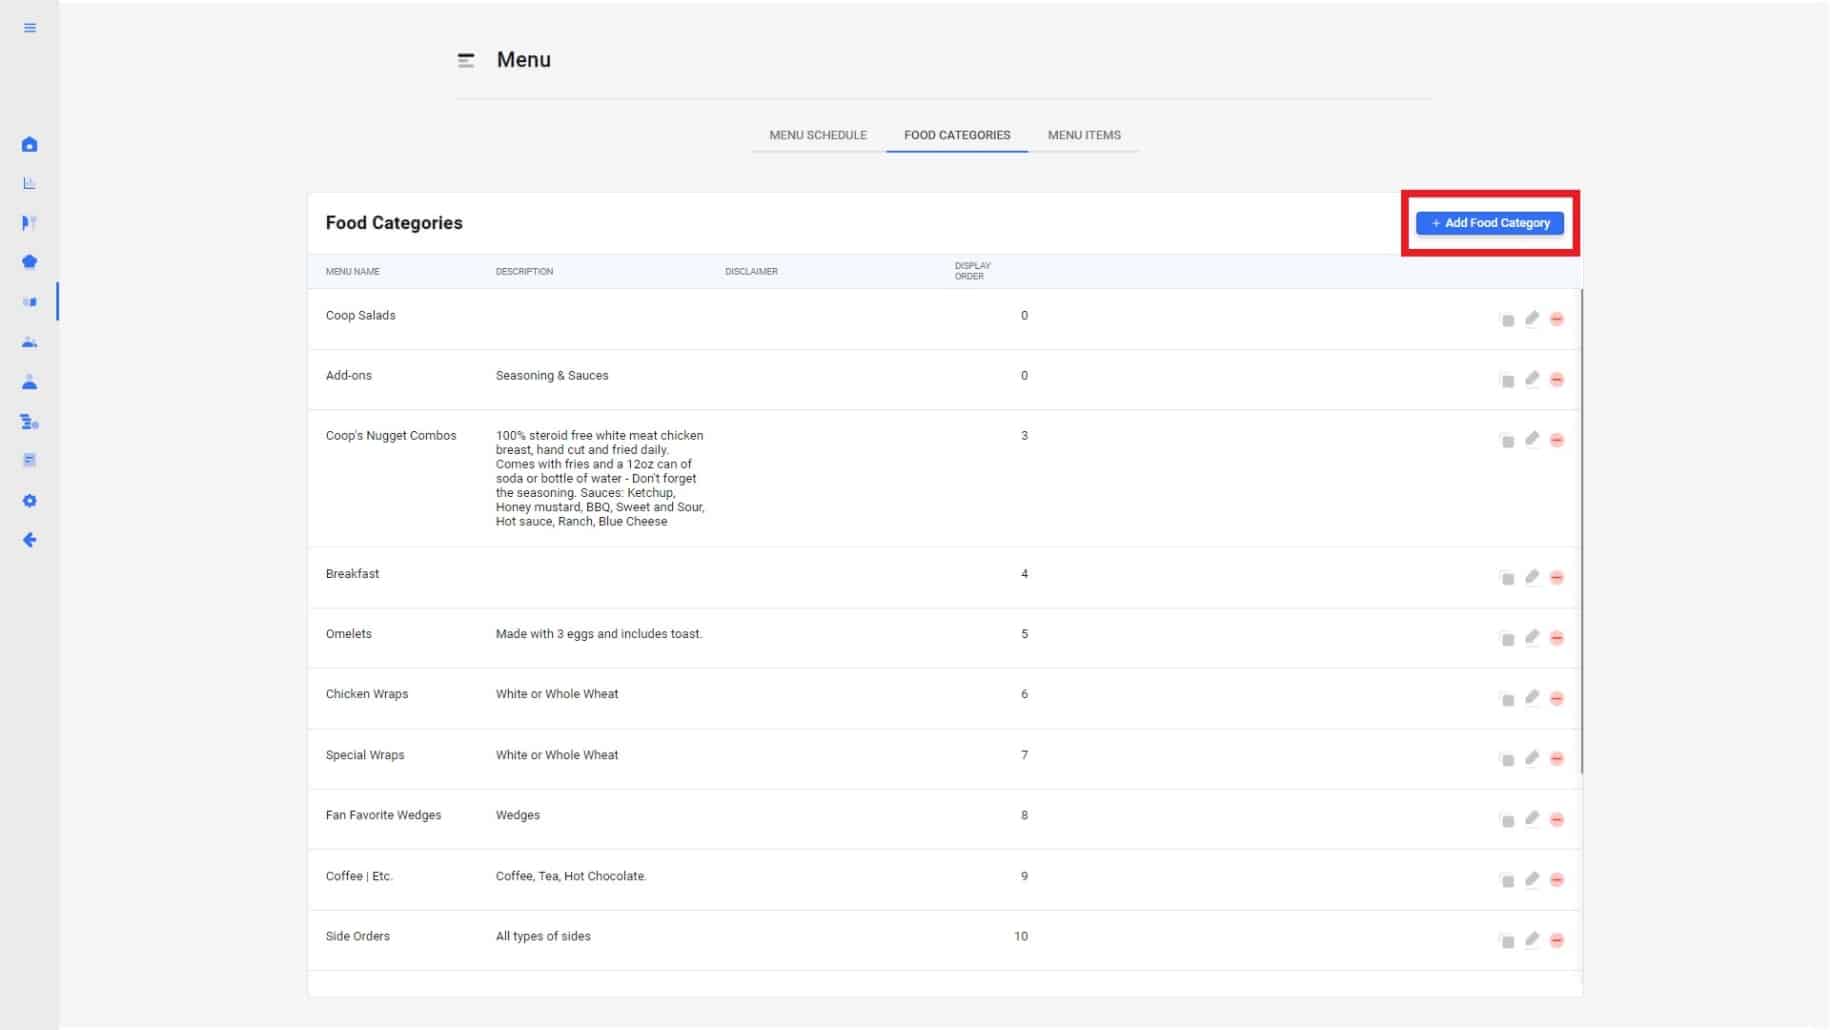
To create a menu category, Select “Menu” on the Navigation Bar on the left. Then select Food Categories on the tab selections.
2.
Hit “+ Add food category” near the top right of the webpage to start creating your new food category.
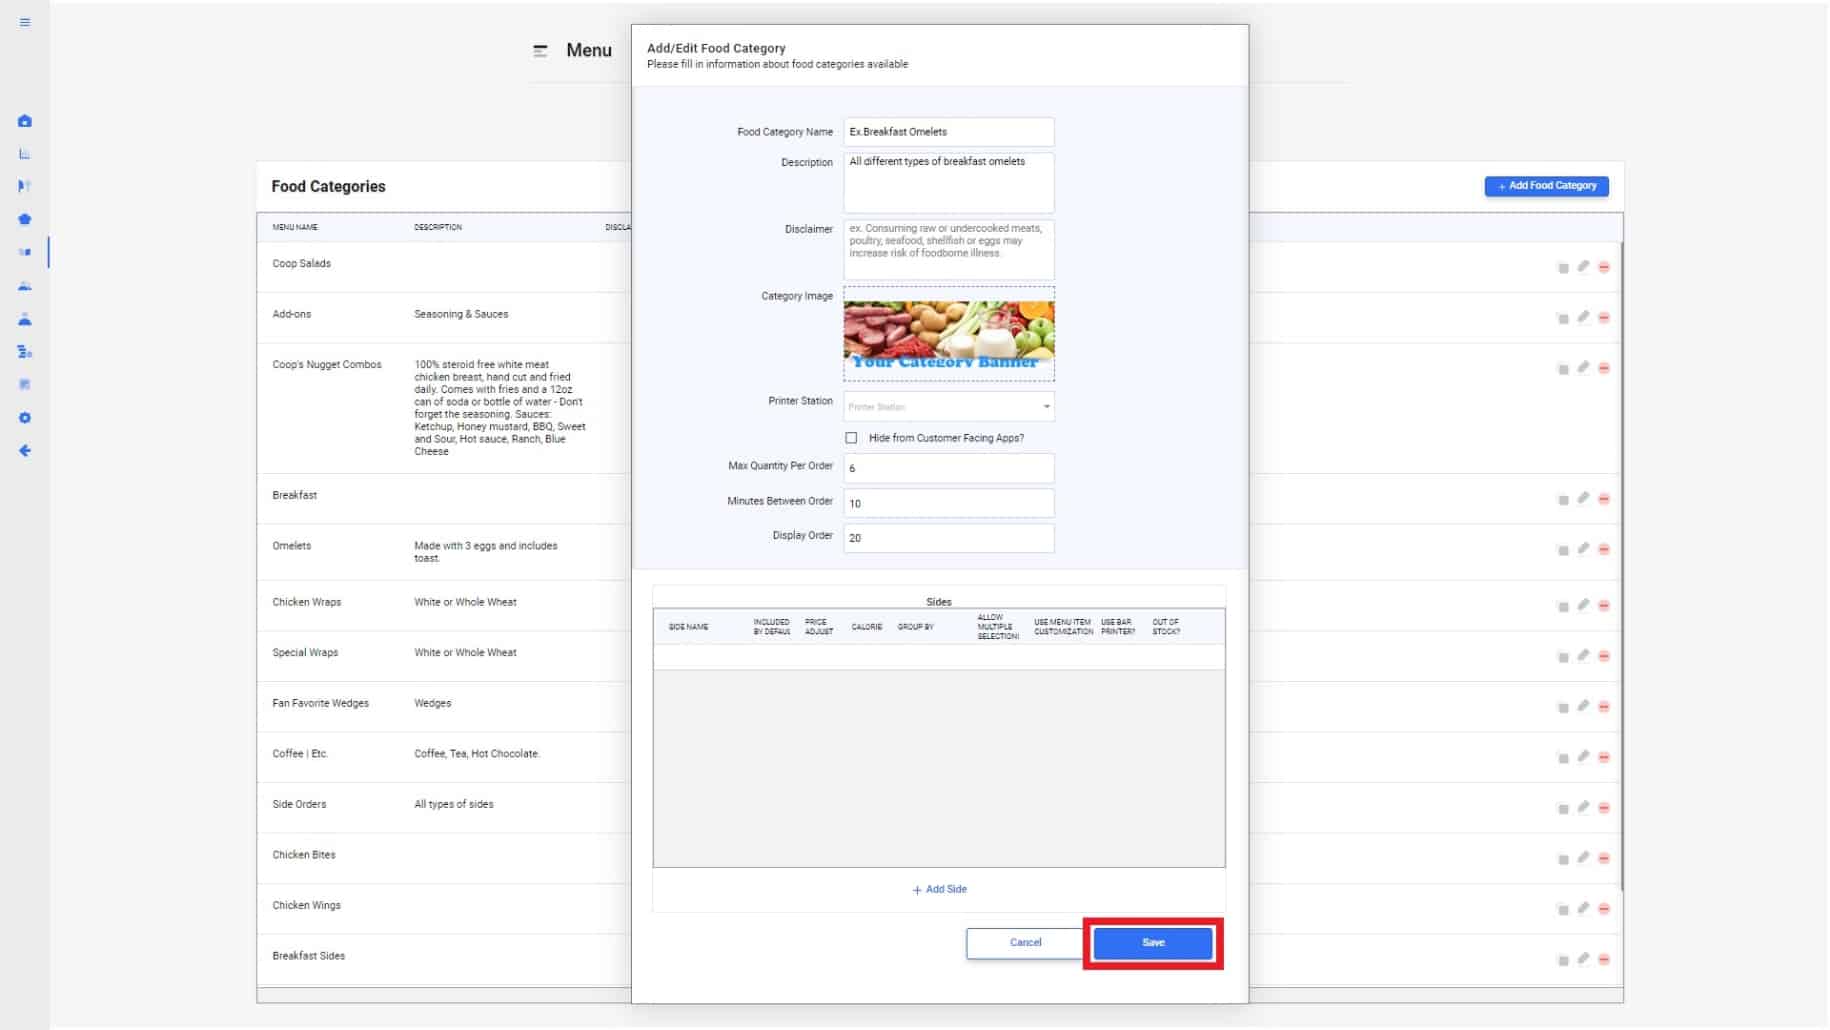
3.
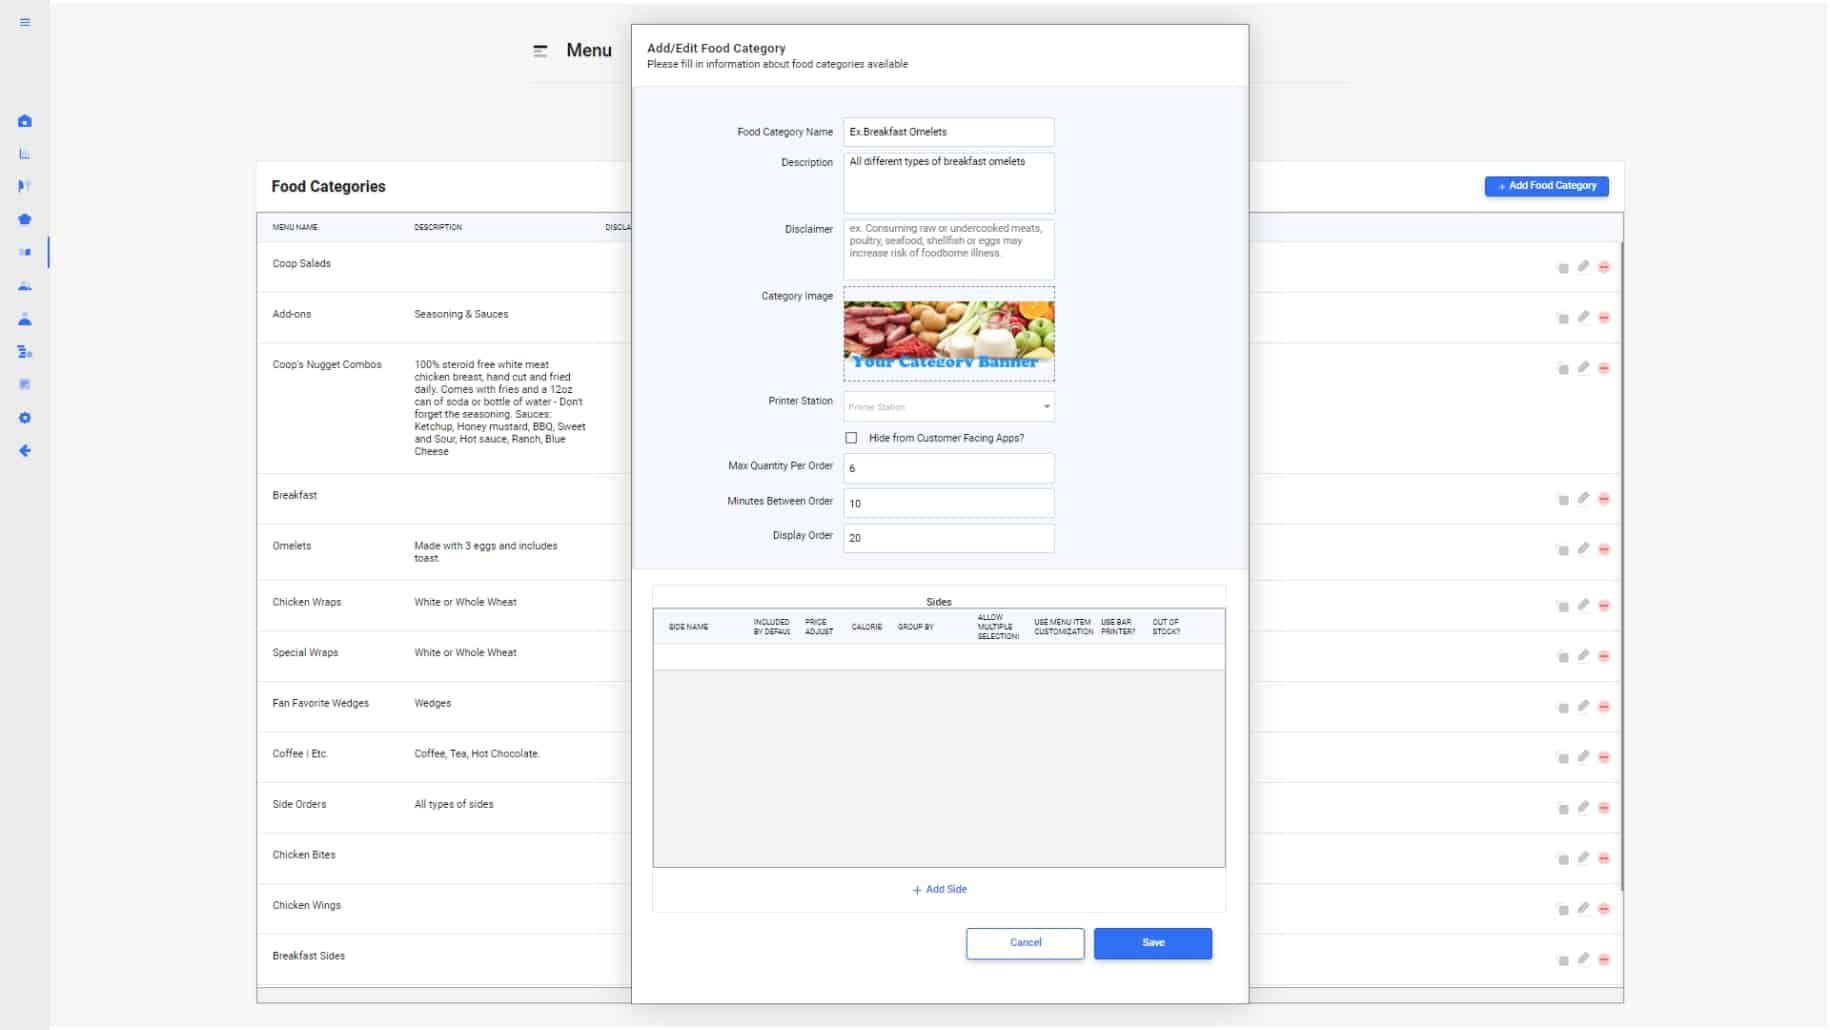
The add/edit pop up menu will now appear. Fill out each box with the information matching your restaurant’s needs. Each box is specified for the following:
- Food Category name: Ex. Breakfast Omelets
- Description: Ex. All different types of Omelets
- Disclaimer: Insert any disclaimers if needed
- Category Image: Here you will be able to change the image of your food category that will appear on the CURV Website.
- Printer Station: Select which printer you would like the category to print kitchen ticket too.
- Max Quantity Per Order: Set a limit on how many can be ordered at a time.
- Minutes Between Order: Ex. 10 : To give the kitchen enough time to prepare food, you can edit how long it takes to receive each order. *Note* This feature is only applicable if your restaurant has been set up as a Buffet style restaurant.
- Display Order: Ex. 20 (The order of how it will appear on your POS).
4.
Once you have filled in the required information, you have the option “Add sides” to your category. Select “+ Add side” and fill out each box accordingly. To learn more about sides click here. If you do not wish to create a side, hit “Save”.
5.
Once saved. You will see your newly created menu category in the menu categories table.
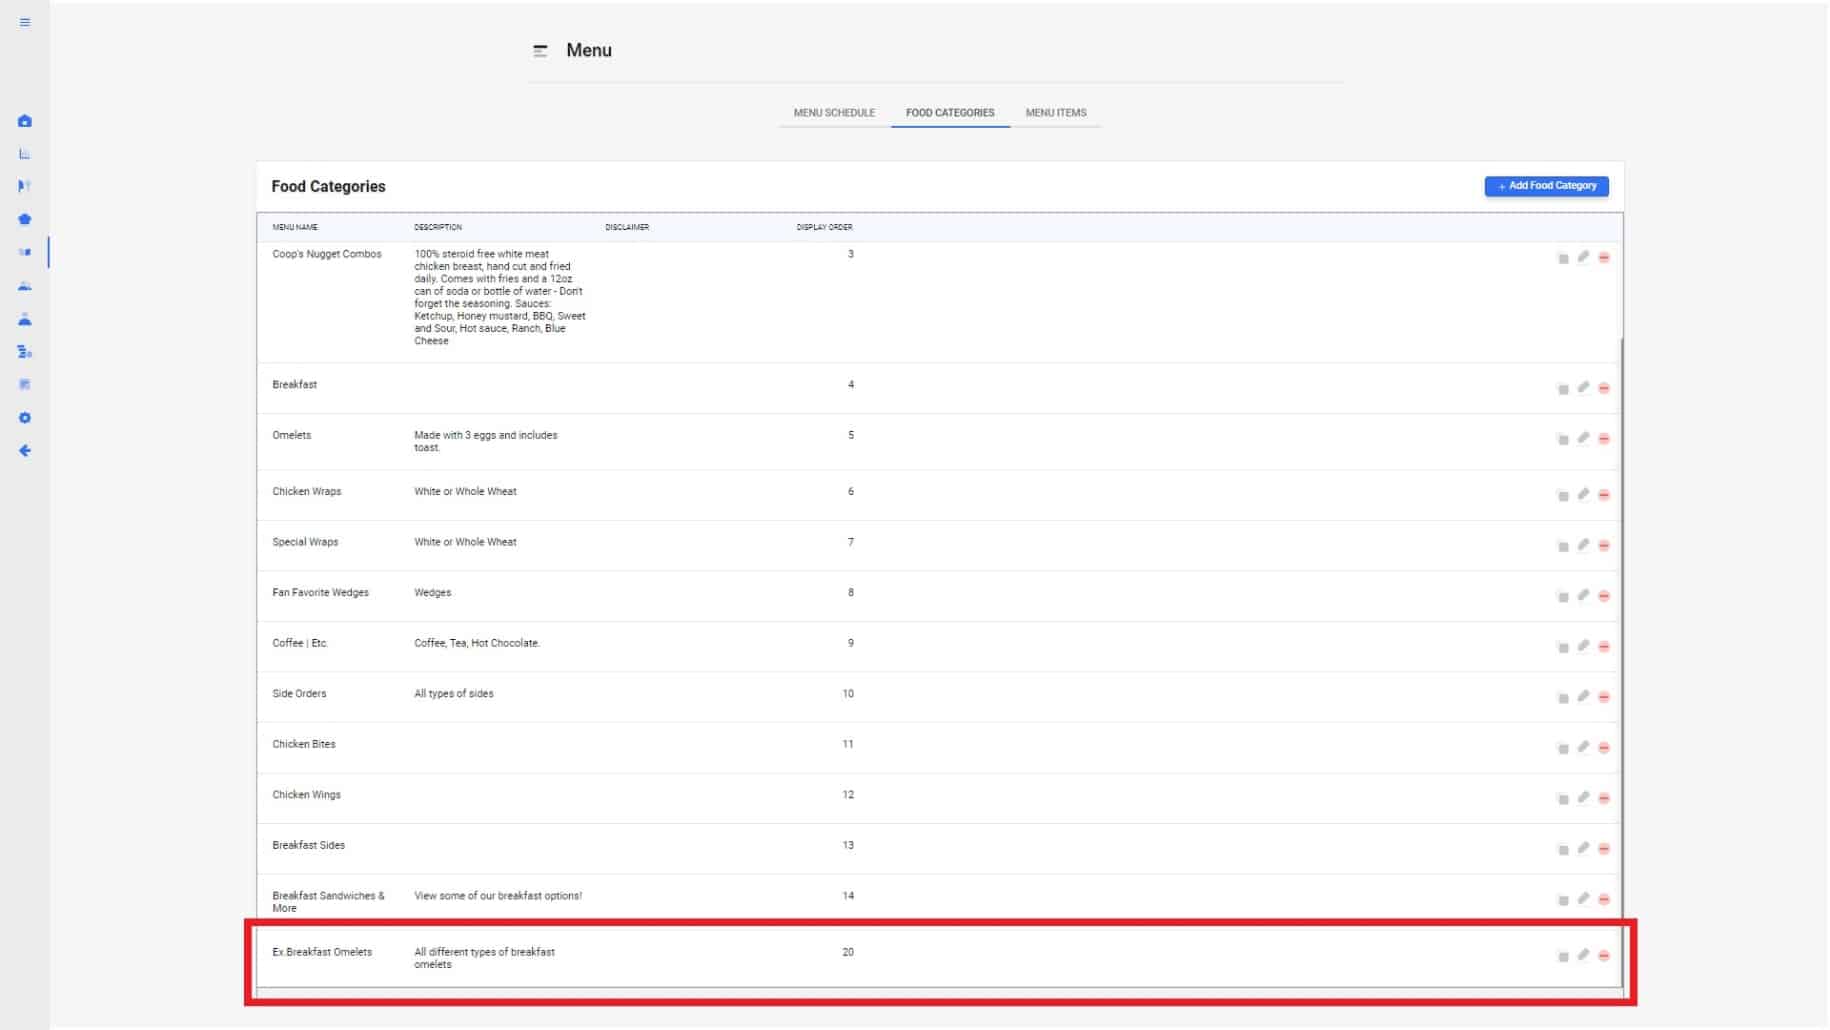
6.
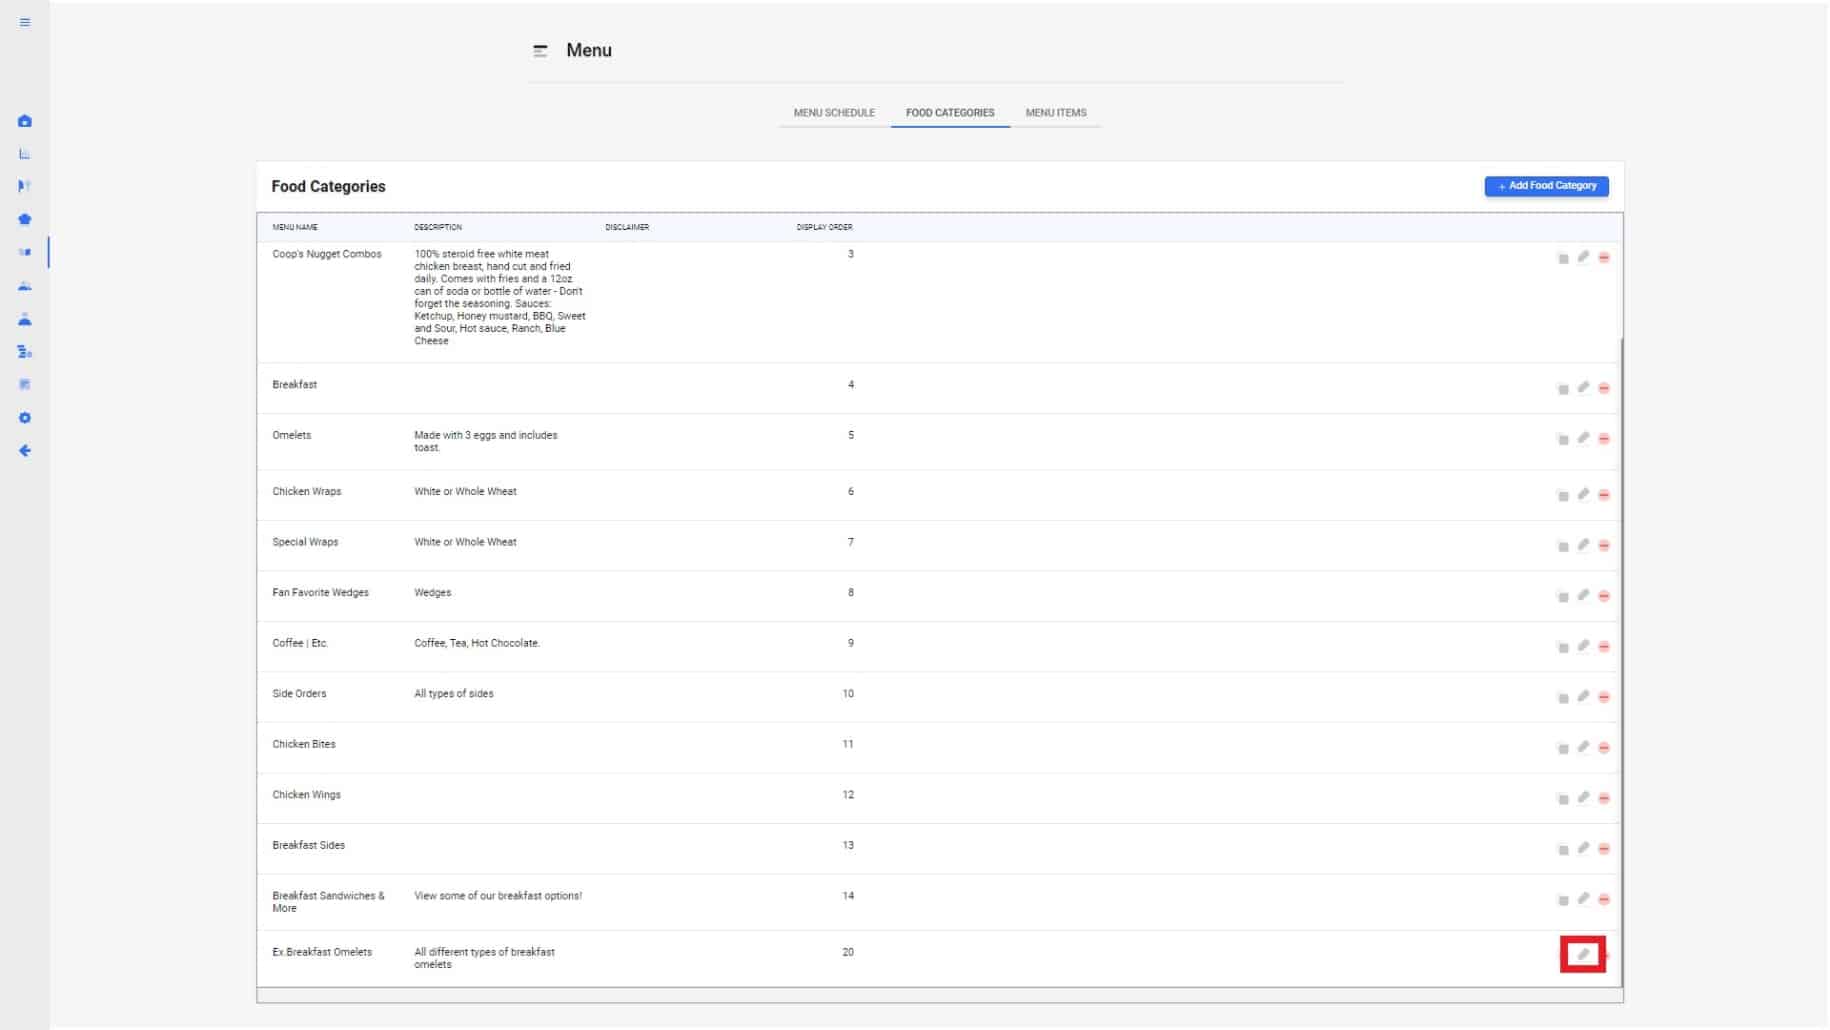
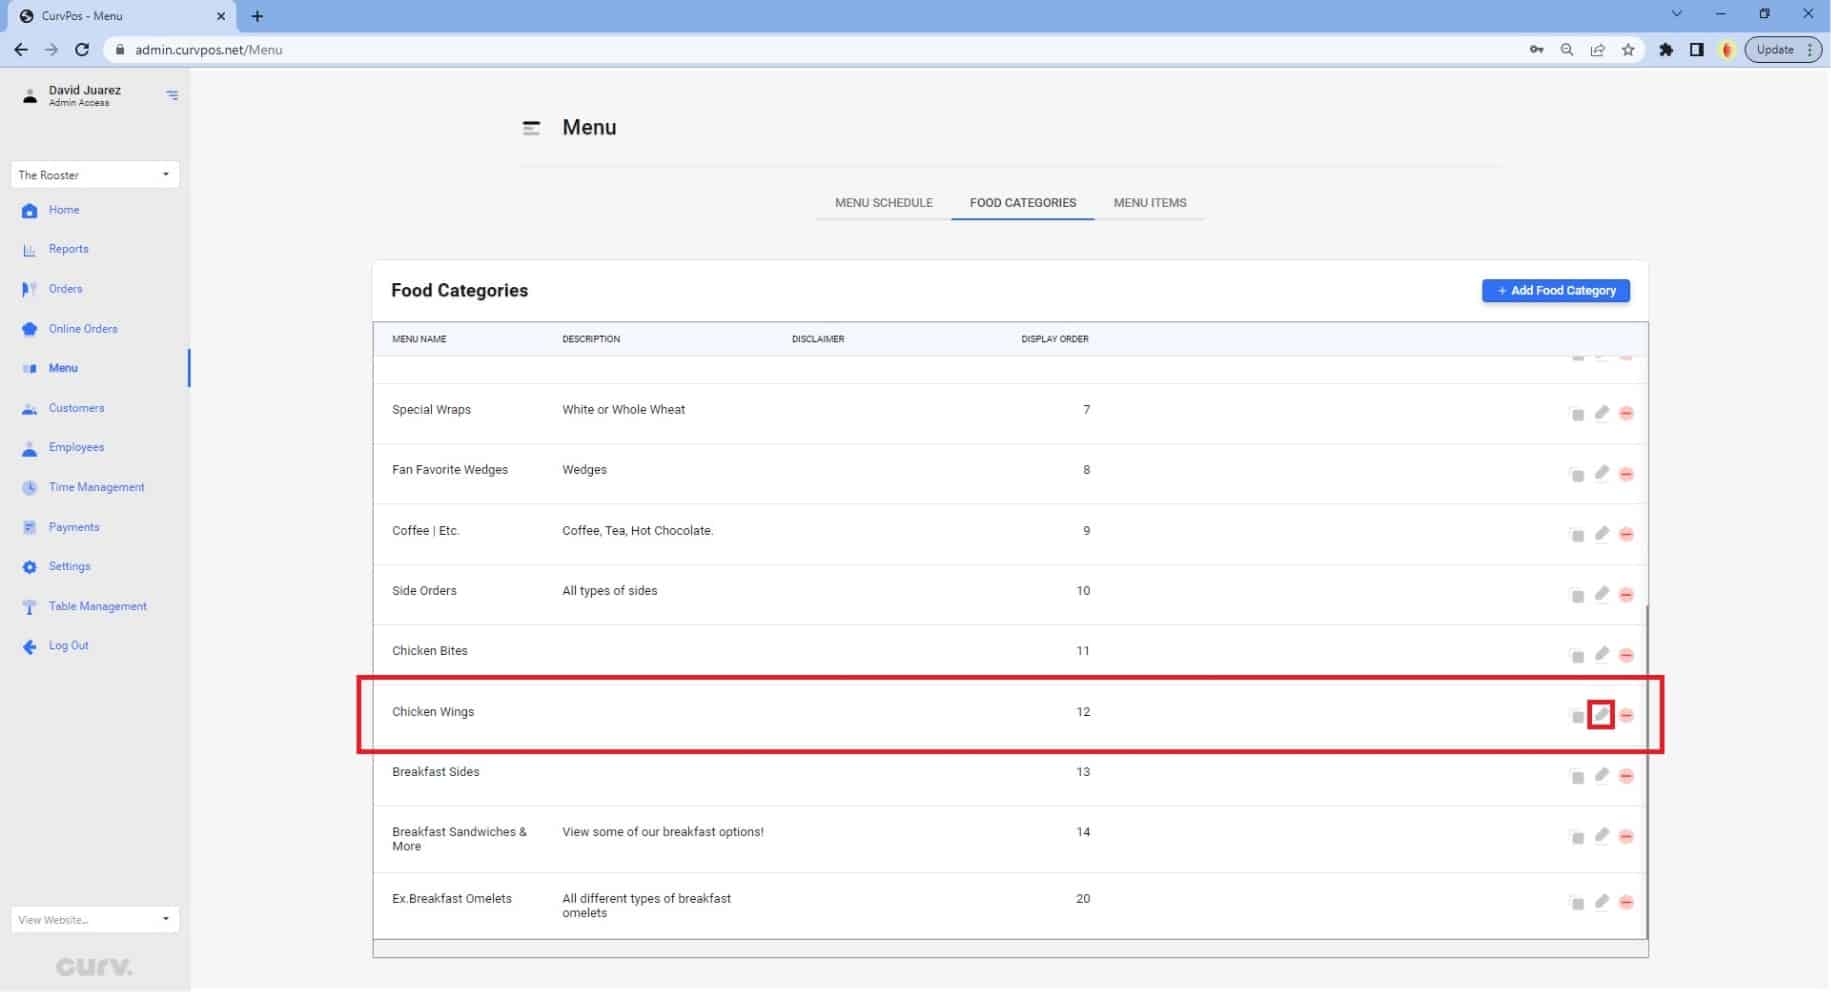
If you ever need to make any changes to your menu category, please select the edit icon all the way on the right of your menu category.