1.
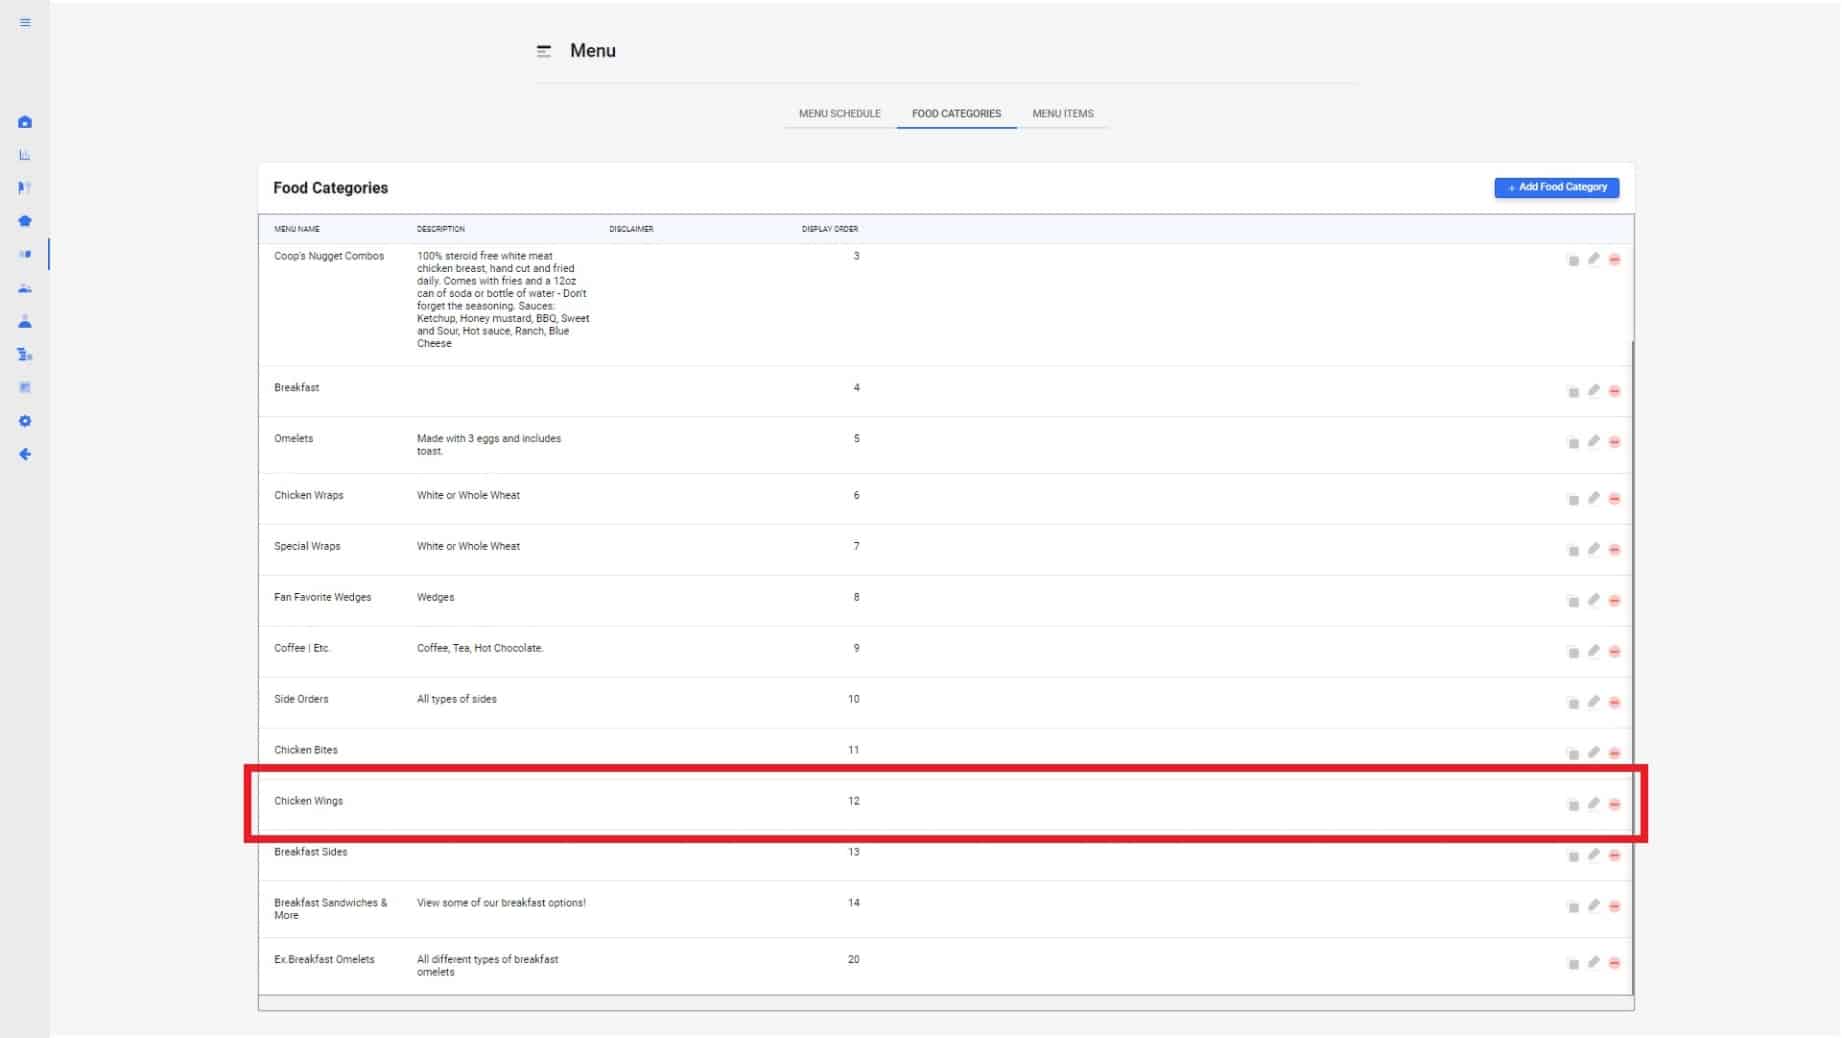
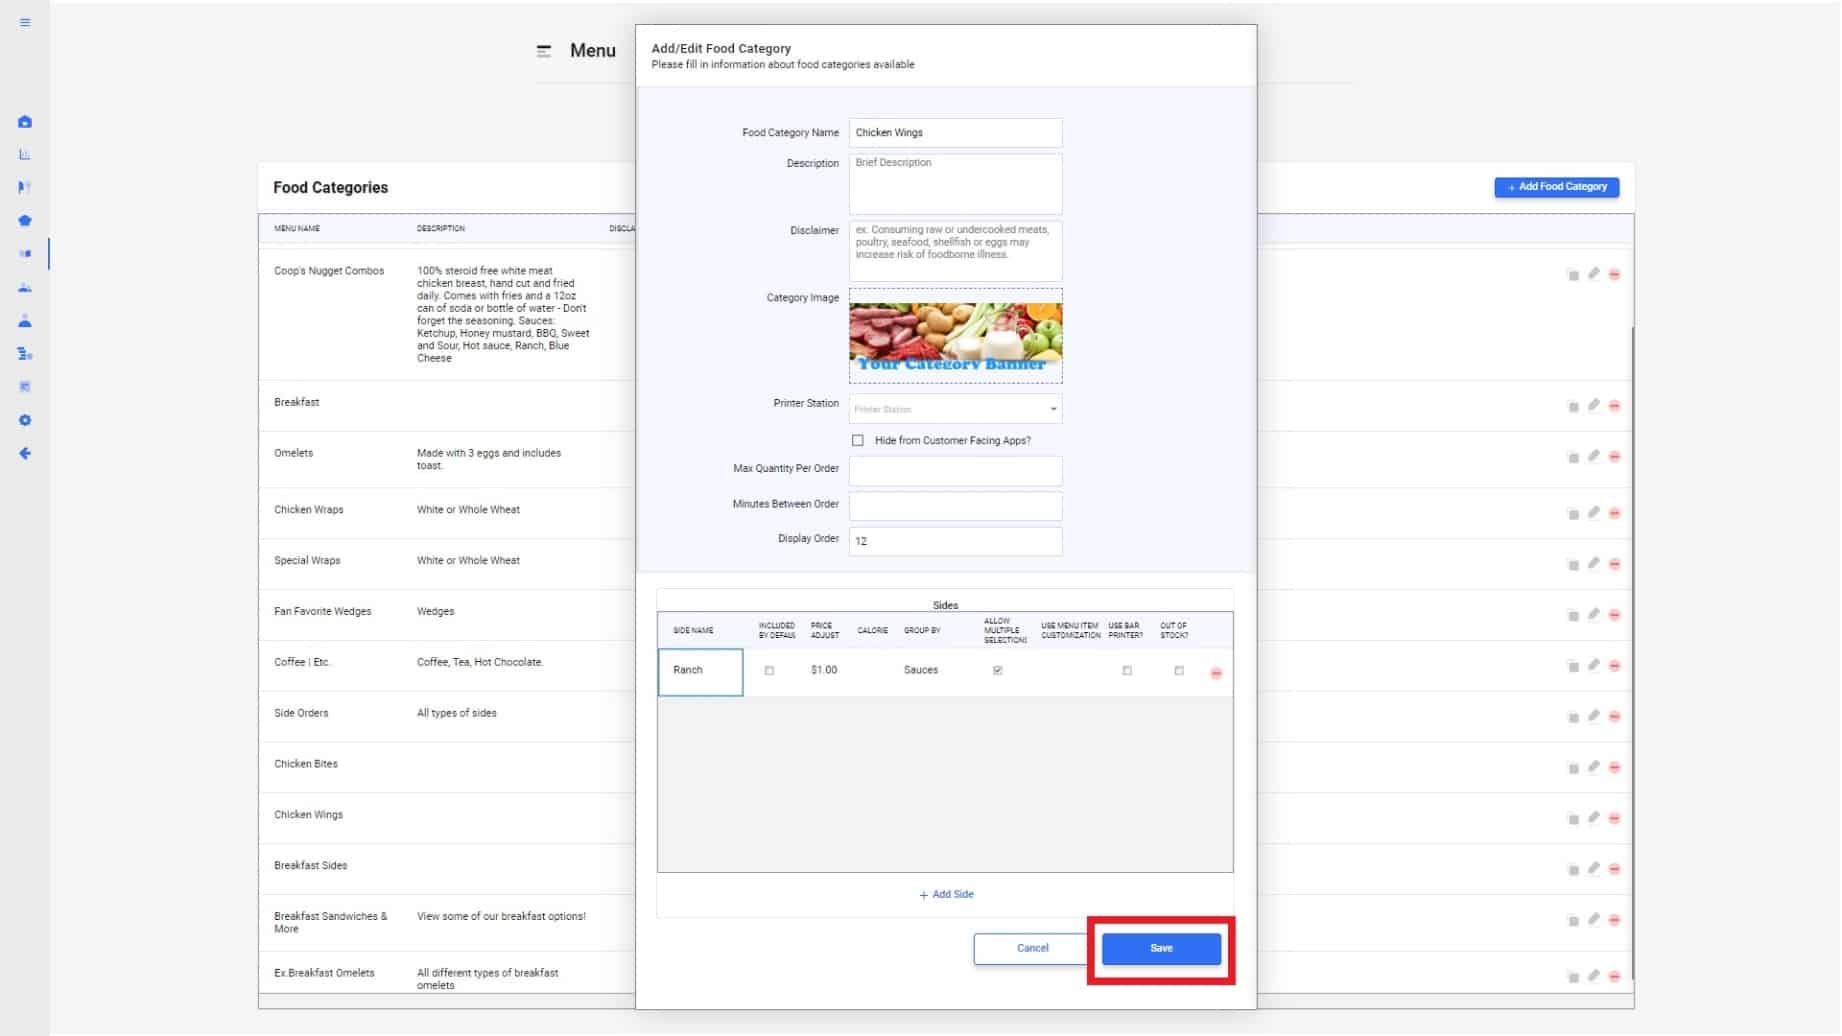
To add sides to a food category, locate the food category you would like to adjust and click the edit button on the right of the table.
2.
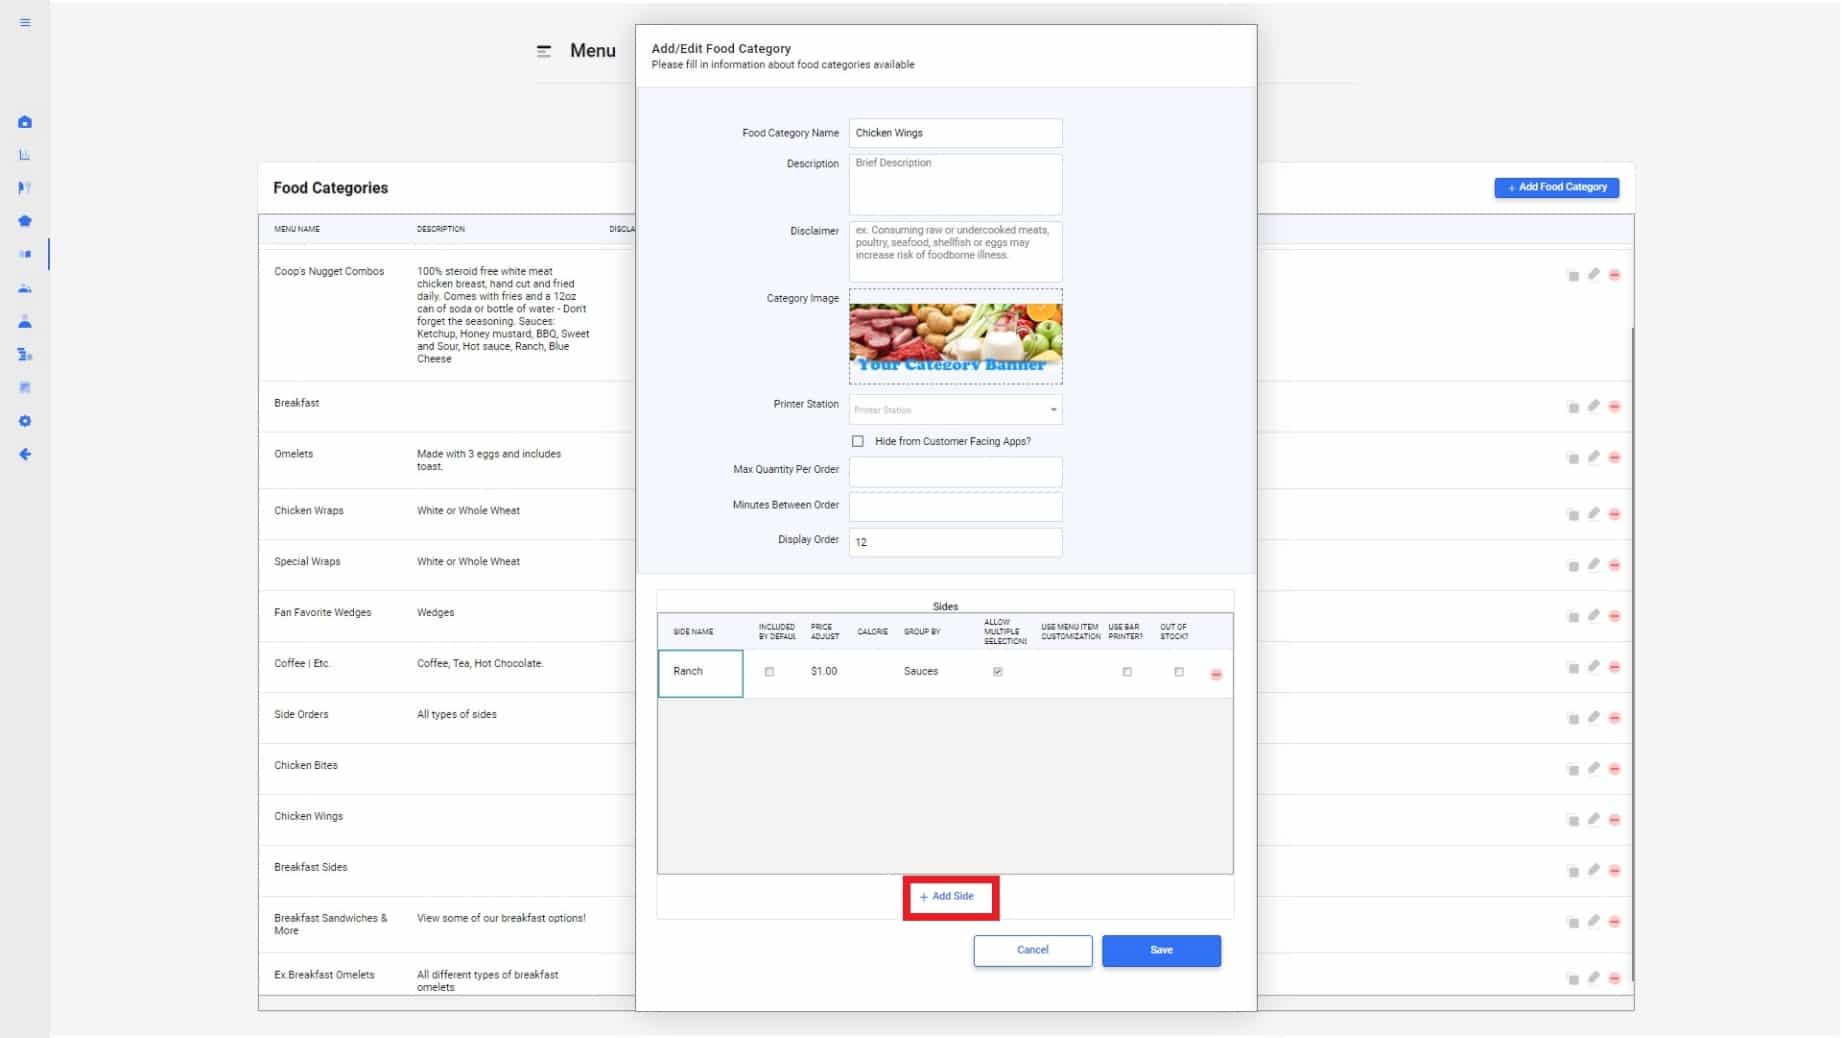
The add/edit popup will appear, scroll down and select “Add side”. You will have text boxes appear to add your side. There is no limit to how many sides you may add to a food item.
3.
Each box is specified for the following:
- Side name: Give your side a name that can be added to your food category. Ex. Ranch
- Include by default: If this box is checked off, all menu items attached to the category will come with the selected side.
- Price Adjustment: With your side, you can decide if it will adjust the price by more or less. Ex. Adding ranch will cost $1.00, it will add $1.00 to the total.
- Calories: You can put Macro nutritional information here.
- Group by: This is the title or header organize the different type of sides you are creating. For Ex. Ranch as a side, I would want to name the group “sauces”. Now all my sauces will be linked together under the same “Header” for all items linked to the Food Category.
- Allow multiple selections: Checking this box off will allow you and online customers to select multiple sides within the same group at the same time.
- Use menu item customization: Specify your side customization to one specific ítem.
- Out of Stock: If you are out of stock on a specific side, you can check off this box so customers can no longer select this option online. Your employees will also not see its available on the POS as well.
4.
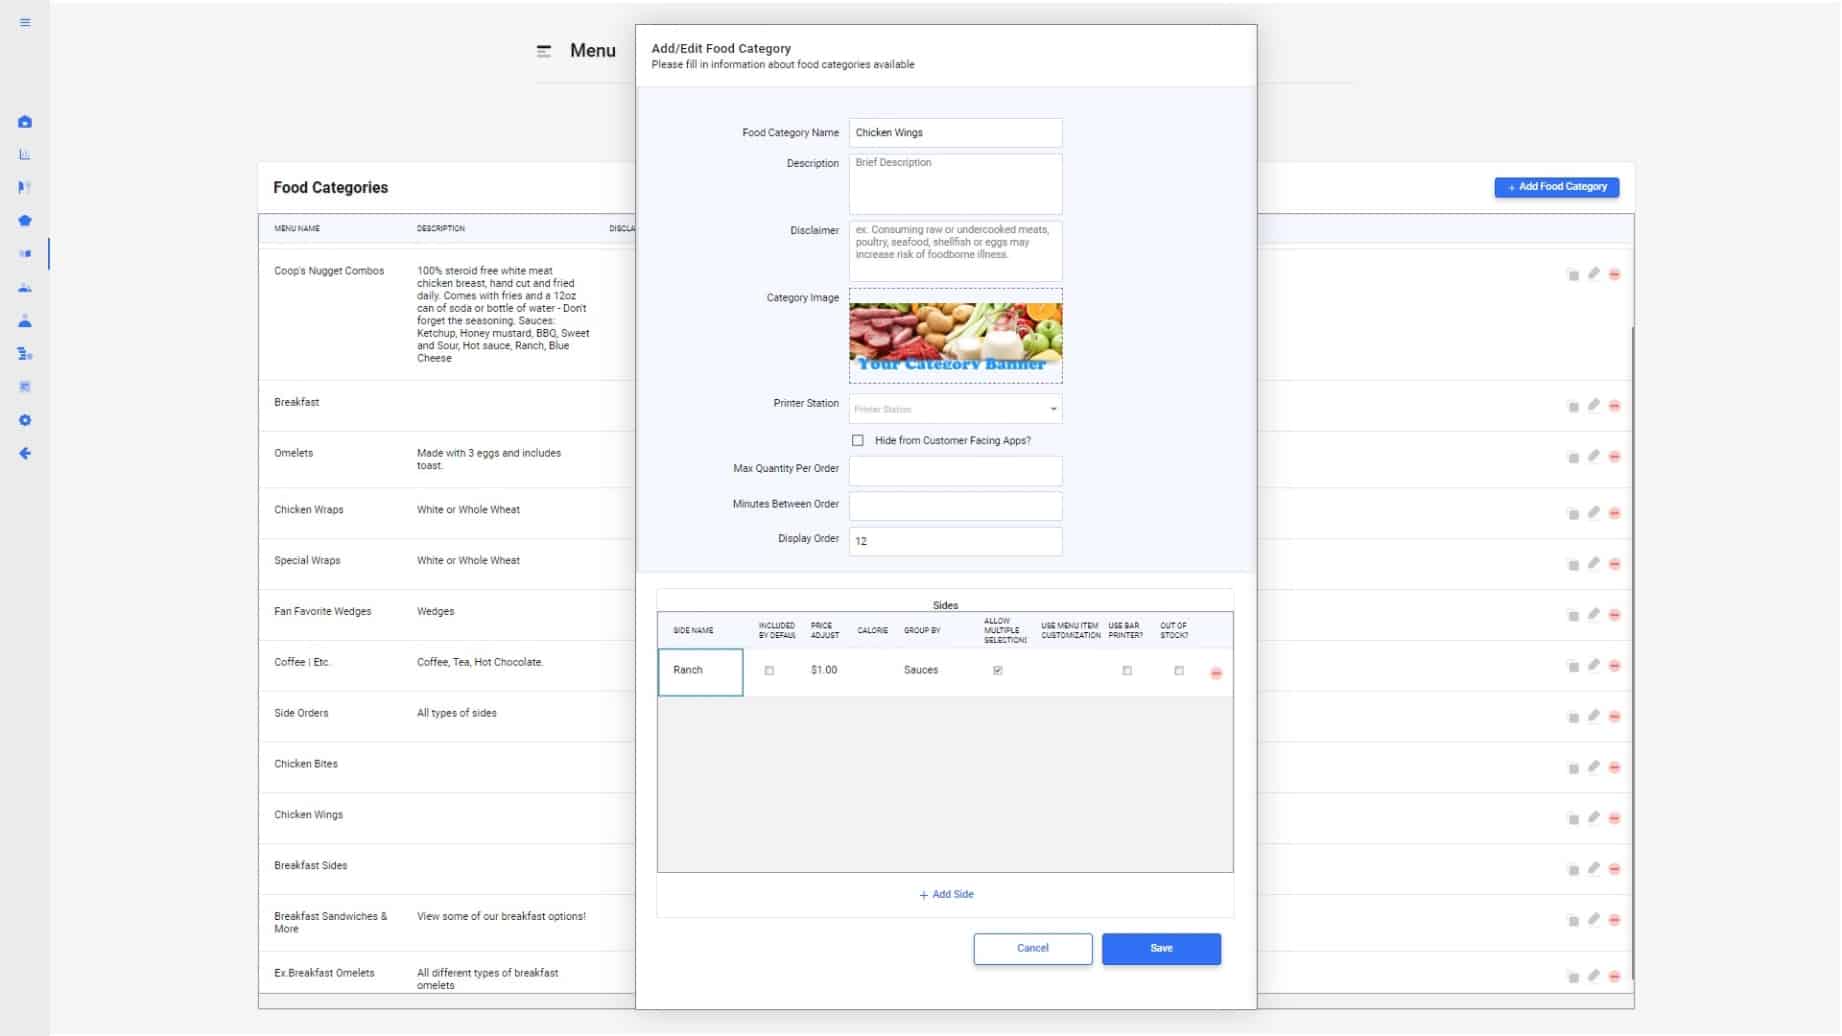
When you’re done making your side, hit “Save” at the bottom right of the pop up menu. You will now be able to see the newly created side on your POS and CURV website.
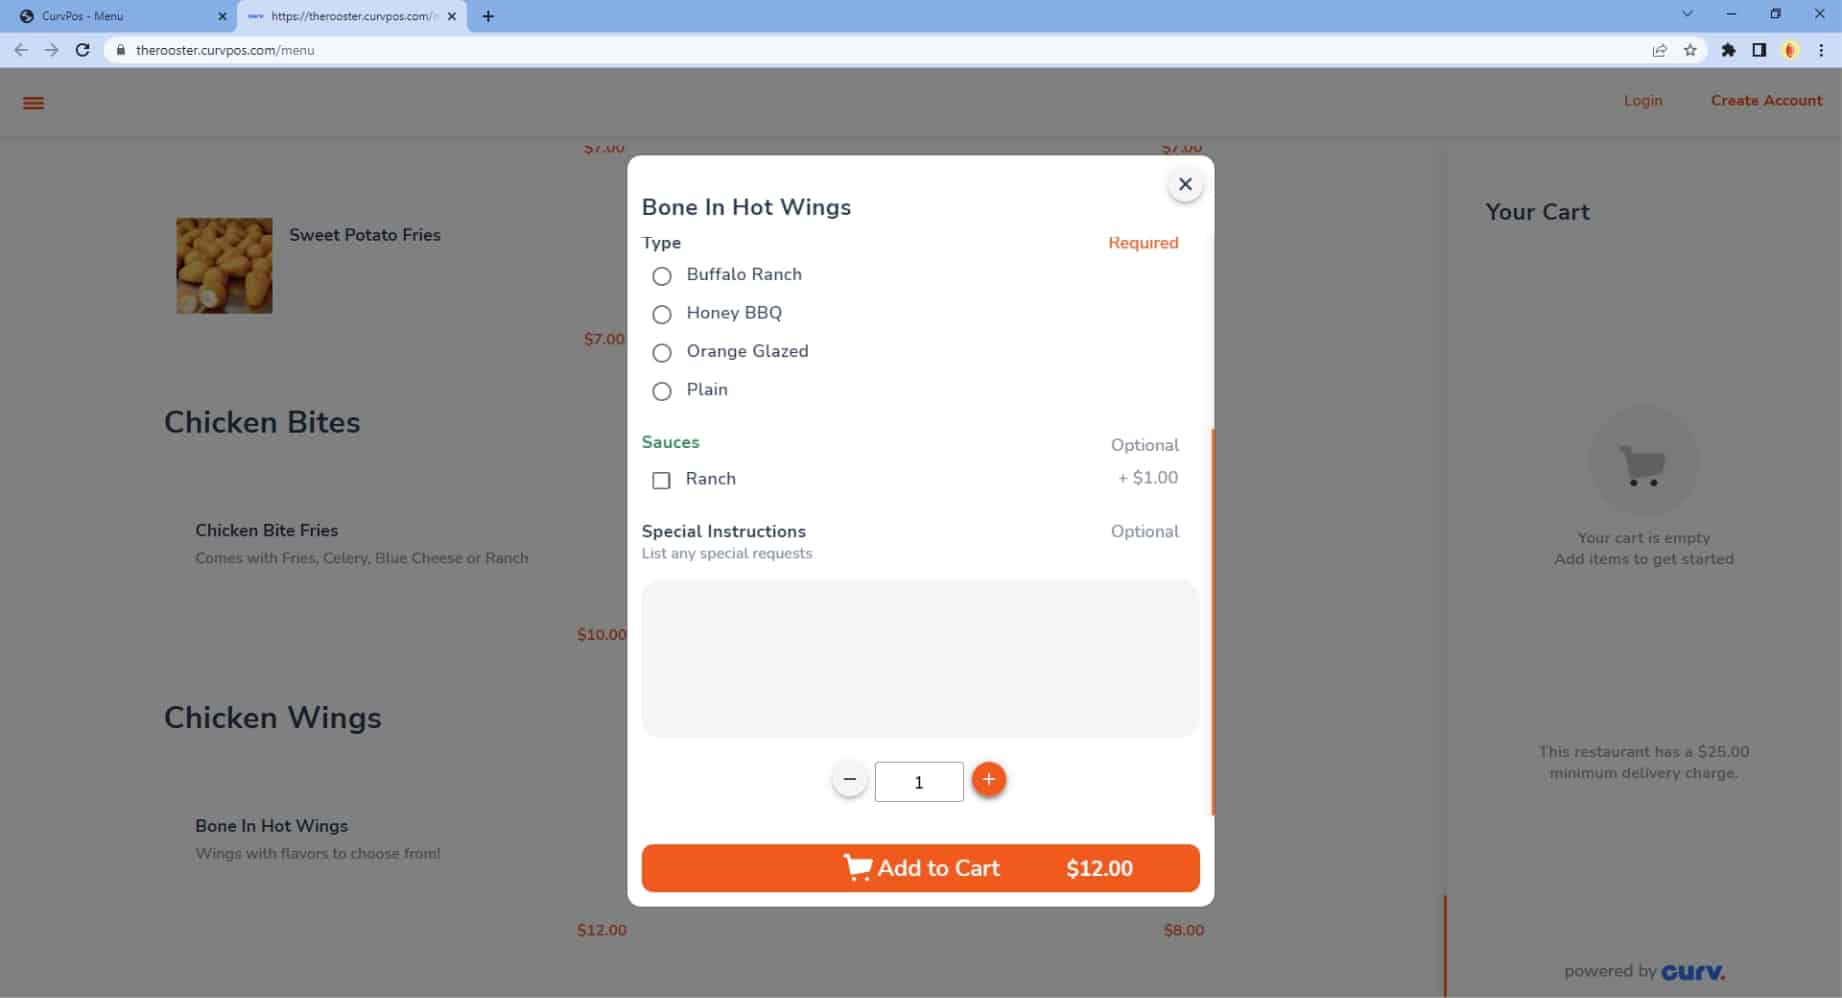
5.
Your sides will appear as they do below.
POS view:
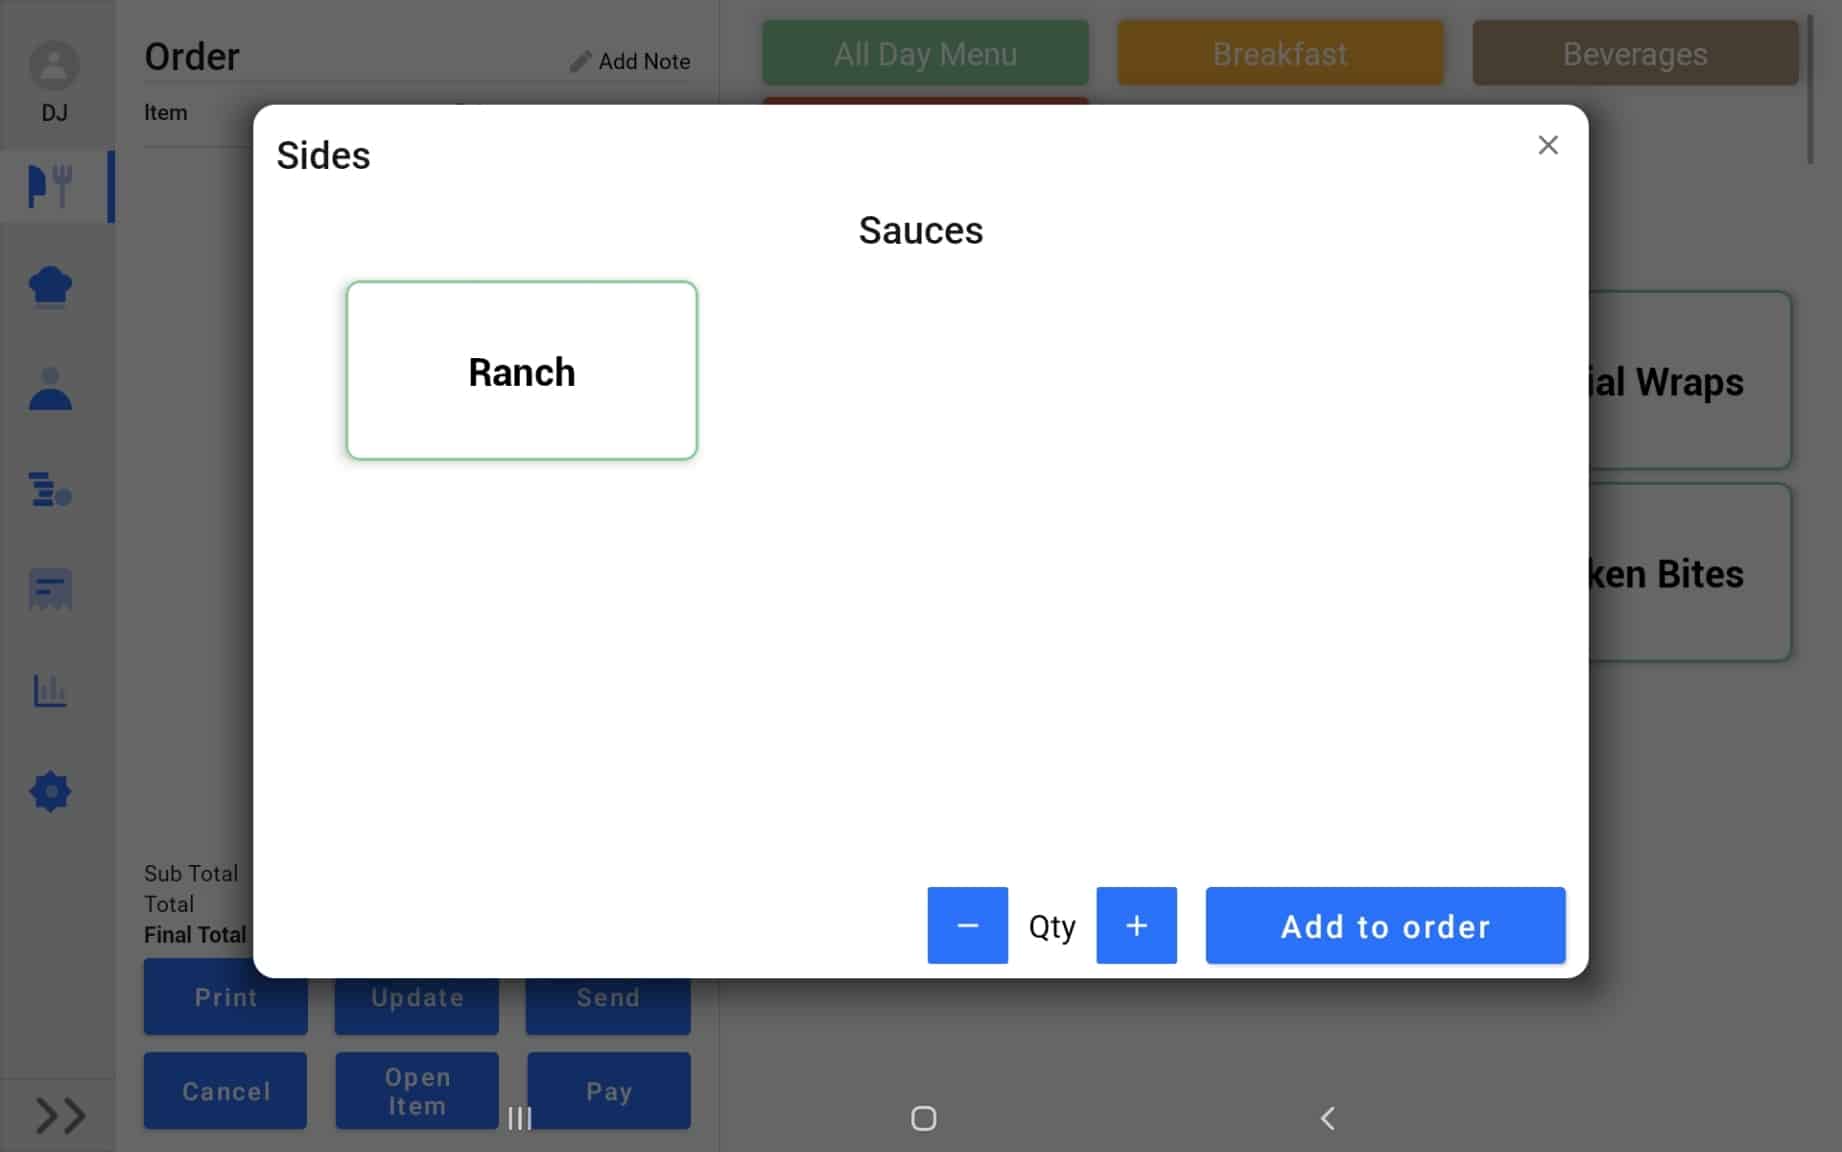
Website view: